
Creating a truly exceptional bone broth starts long before the simmering pot—it begins with roasting the bones. This simple yet transformative technique caramelizes the bones and brings out complex, savory flavors that define a great broth. Whether you’re making beef, chicken, or pork broth, learning how to roast bones properly is the key to unlocking a richer, more satisfying result every time.
Why Roast Bones Before Making Bone Broth?
Roasting bones before making bone broth is essential because it enhances both the flavor and nutritional value of the final broth. The roasting process caramelizes the natural sugars and proteins in the bones and any attached meat, creating rich, deep, and complex flavors that simply simmering alone cannot achieve. Additionally, roasting helps to develop a beautiful golden color and removes excess fat, resulting in a clearer, more appetizing broth. This step also unlocks more nutrients and minerals, making your bone broth not only tastier but also more nourishing.
What Types Of Bones Can You Roast?
- Beef Bones: Marrow bones, knuckle bones, and oxtail are excellent choices for a rich, gelatinous broth.
- Chicken Bones: Use whole carcasses, wings, necks, and feet for a lighter, flavorful broth.
- Pork Bones: Neck bones, trotters, and ribs add a savory depth and natural sweetness to your broth.
- Lamb Bones: Shanks, neck bones, and ribs provide a robust, earthy flavor ideal for hearty broths.
- Fish Bones: Heads and frames from non-oily fish like cod or halibut create a delicate, nutrient-rich broth.
How To Roast Bones For Bone Broth: Step-by-Step
Preheat Your Oven
Begin by preheating your oven to 400°F (200°C). This temperature is ideal for caramelizing the bones and developing deep, rich flavors without burning them.
Prepare the Bones
Arrange your chosen bones—beef, chicken, pork, lamb, or fish—in a single layer on a large roasting pan or baking sheet. If desired, add a few roughly chopped vegetables like onions, carrots, and celery to enhance the flavor profile.
Season Lightly (Optional)
For added depth, you can lightly season the bones with salt, pepper, or a drizzle of olive oil. This step is optional but can help bring out even more flavor during roasting.
Roast the Bones
Place the pan in the preheated oven and roast the bones for 30 to 45 minutes. Turn the bones halfway through to ensure even browning. The bones should develop a deep golden-brown color, which is key to a flavorful broth.
Transfer to Stockpot
Once roasted, carefully transfer the bones (and any vegetables) to a large stockpot. Scrape any browned bits from the roasting pan into the pot as well—these bits are packed with flavor and will enrich your broth.
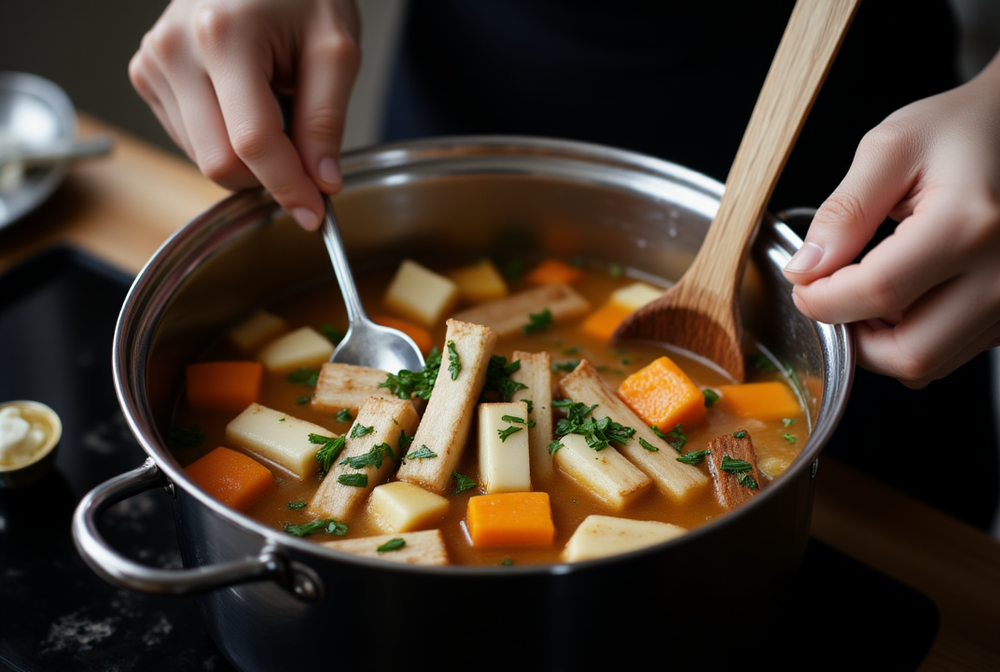
Begin Simmering
Cover the bones with cold water and bring to a gentle simmer over medium heat. Skim off any foam or impurities that rise to the surface, then continue simmering according to your bone broth recipe, allowing the roasted flavors to infuse the broth fully.
Can You Mix Different Types Of Bones In One Broth?
Yes, you can absolutely mix different types of bones in one broth, and doing so often results in a more complex and flavorful final product. Combining bones from various sources—such as beef, chicken, pork, or even lamb—allows you to balance the richness, gelatin content, and subtle flavors each type brings. For example, chicken bones add lightness and sweetness, while beef or pork bones contribute depth and body. Mixing bones also increases the variety of nutrients and minerals extracted, making your broth even more nourishing and satisfying.
What’s The Difference Between Marrow Bones, Knuckles, And Meaty Bones?
Marrow bones, knuckles, and meaty bones each play a unique role in bone broth, contributing different flavors and nutrients. Marrow bones are rich in healthy fats and provide a silky texture and deep flavor, thanks to the nutrient-dense marrow inside. Knuckle bones are loaded with connective tissue and cartilage, which break down during simmering to release gelatin, giving the broth its signature body and richness. Meaty bones, which still have some meat attached, add savory flavor and protein, rounding out the broth with a robust, satisfying taste. Using a combination of these bones creates a well-balanced, flavorful, and nutrient-packed bone broth.
Should Bones Be Fresh, Frozen, Or Thawed?
Bones can be fresh, frozen, or thawed when making bone broth, and each option works well depending on your needs and what you have available. Fresh bones are ideal for immediate use and often provide the most robust flavor, while frozen bones offer convenience and allow you to save up scraps until you have enough for a batch. If using frozen bones, you can roast them straight from the freezer or let them thaw first—either method will yield excellent results. Ultimately, the choice comes down to personal preference and convenience, as all three options will produce a nourishing and flavorful broth.
Can You Overcook Bones For Bone Broth?
Yes, it is possible to overcook bones when making bone broth. While long simmering is essential for extracting nutrients and flavor, cooking the bones for too long—especially at high temperatures—can cause the broth to develop a bitter taste and an unpleasant, cloudy appearance. Overcooking may also break down the gelatin and minerals too much, resulting in a less satisfying texture. For optimal results, simmer your broth gently and follow recommended cooking times: generally 12–24 hours for beef bones and 6–12 hours for poultry bones. This approach ensures a rich, flavorful, and nourishing broth without any off-putting flavors.
Bone Broth Flavor Based On Bone Type
|
Bone Type |
Flavor Profile |
Best Uses & Benefits |
|
Beef Bones |
Deep, rich, robust, savory |
Ideal for hearty soups and stews; high in gelatin and minerals for a thick, nourishing broth |
|
Chicken Bones |
Light, slightly sweet, delicate |
Great for sipping, lighter soups, and as a versatile base; provides a gentle flavor and good collagen content |
|
Pork Bones |
Savory, slightly sweet, mellow |
Perfect for ramen and Asian-inspired broths; adds natural sweetness and a silky texture |
|
Lamb Bones |
Earthy, bold, gamey |
Best for strong-flavored dishes and Mediterranean recipes; imparts a unique, rich taste |
|
Fish Bones |
Clean, subtle, slightly briny |
Excellent for light soups and sauces; cooks quickly and is rich in minerals and nutrients |
Should You Flip The Bones During Roasting?
Yes, you should flip the bones during roasting to ensure they brown evenly on all sides. Turning the bones halfway through the roasting process helps to develop a deeper, more complex flavor and prevents any one side from burning or sticking to the pan. Even browning is key to unlocking the full potential of the bones, as the caramelization that occurs during roasting adds rich color and savory notes to your bone broth. This simple step makes a noticeable difference in both the taste and appearance of your finished broth.
Can You Store Roasted Bones For Later Use?
Yes, you can store roasted bones for later use, making it easy to prepare bone broth whenever you’re ready. After roasting, allow the bones to cool completely, then transfer them to an airtight container or freezer-safe bag. Roasted bones can be refrigerated for up to three days or frozen for several months without losing their flavor or nutritional value. This convenient approach lets you roast bones in advance and have them on hand for quick, flavorful broth whenever you need it.
Common Bone Roasting Mistakes To Avoid
- Overcrowding the Pan: Placing too many bones on the roasting pan prevents proper browning and caramelization, resulting in less flavorful broth.
- Skipping the Flip: Not turning the bones halfway through roasting can lead to uneven browning and missed opportunities for deeper flavor.
- Roasting at Too High a Temperature: Excessively high heat can burn the bones and any attached meat, imparting a bitter taste to your broth.
- Neglecting to Add Vegetables: Omitting aromatic vegetables like onions, carrots, and celery means missing out on extra layers of flavor and richness.
- Forgetting to Scrape the Pan: Leaving behind the browned bits and drippings on the roasting pan wastes valuable flavor that could enhance your broth.
Conclusion
Roasting bones is a simple yet transformative step that elevates your bone broth, infusing it with rich flavor, appealing color, and enhanced nutrition. By selecting the right mix of bones, roasting them properly, and avoiding common mistakes, you set the foundation for a deeply satisfying and nourishing broth. Whether you’re making a robust beef stock, a delicate chicken broth, or experimenting with pork, lamb, or fish, mastering the roasting process ensures your homemade bone broth will be both delicious and wholesome every time.
Final Thoughts
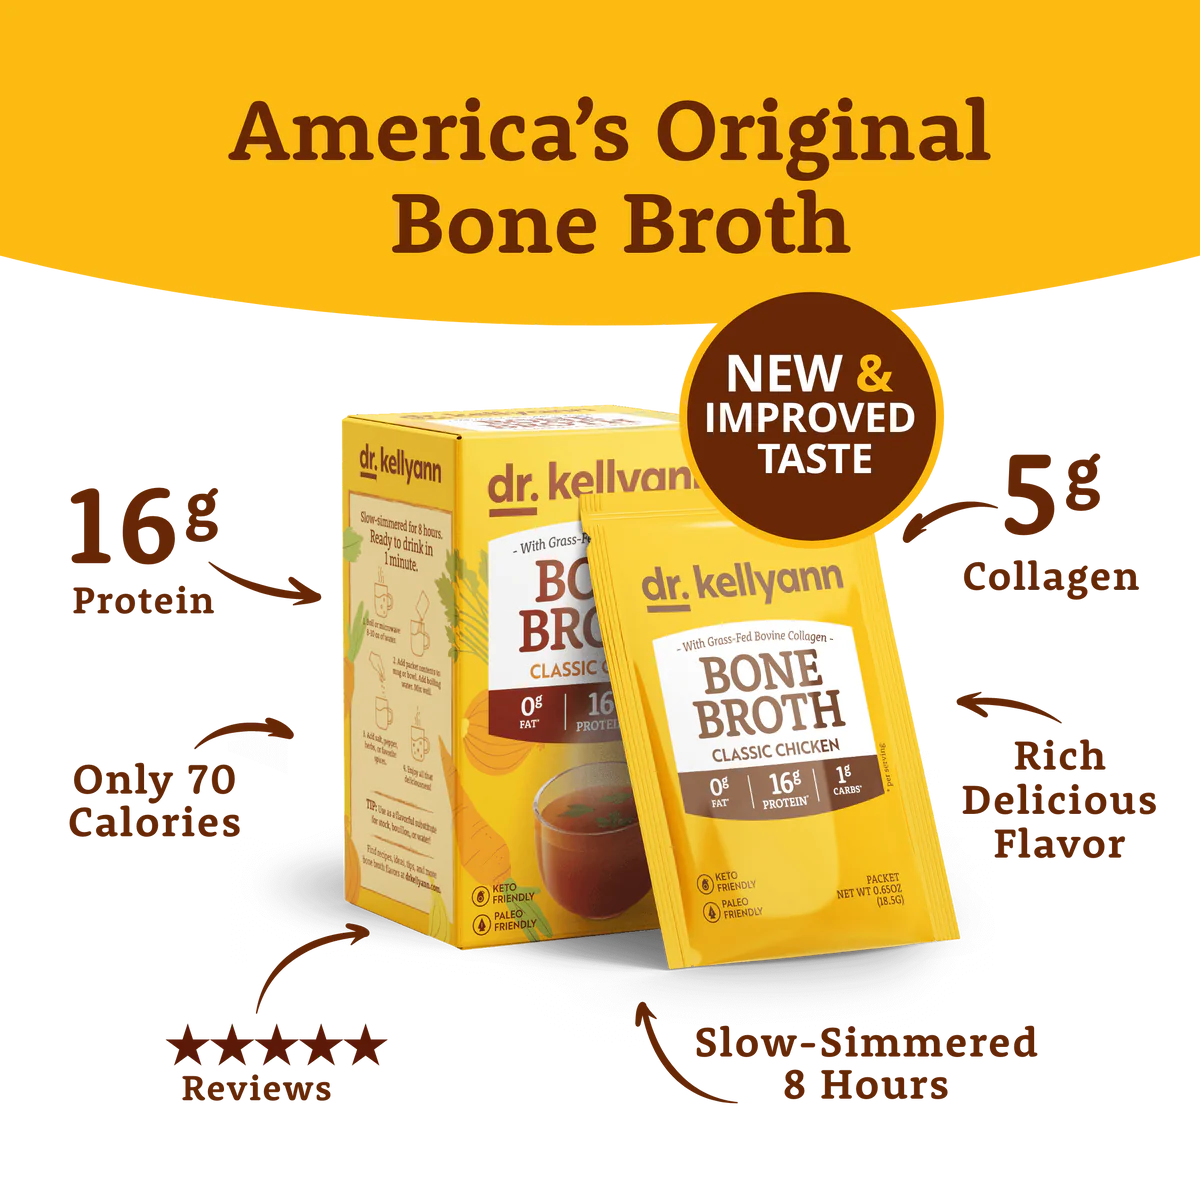
Wondering which type of bone broth is best for boosting your immune system and aiding recovery? Explore Dr. Kellyann’s best sellers, where you’ll find a delicious variety including chicken, beef, and french onion—all crafted without GMOs or added sugars. These convenient broths make it easy to nourish your gut and support your daily wellness. Visit Dr. Kellyann’s to discover your new favorite flavor.
Sources
- https://www.seriouseats.com/roasted-marrow-bones-how-to-make-bone-marrow
- https://bakingforyou.wordpress.com/2017/10/03/can-you-mix-different-types-of-meat-bones-to-make-broth/
- https://wedge.coop/article/food-science-slice-3-mistakes-make-cooking-stock/